What’s your favorite Holiday tradition? Well, one of mine is making sugar cookies with the family. Normally, we make a big batch of normal sugar cookies, then one small batch of gluten free cookies for mom. Then we make buttercream frosting and slather the cookies with it, and you can’t forget the sprinkles! This year, aside from doing the family cookies, I wanted to try out using royal icing. It turned out beautiful, and delicious! Although it does take awhile if you choose to do 3 different types of cookies, and a lot of them at that. The recipe I used was a different one then I would normally use because mine puffs up quite a bit, which is not good for decorating with royal icing, so if you would like the recipe I used in the pictures click the link below!
The Cookie recipe: https://dfdaughter.food.blog/2020/12/21/vanilla-sugar-cookies/
And for the royal icing this recipe from Wilton is the best! It has tips, and measurements if you would like a thicker or thinner consistency.
To see all of my dessert pictures, including the rest of the sugar cookies, go to my photo gallery:
https://dfdaughter.food.blog/photo-gallery
Supplies you will need;
- Piping bags
- Food Colorings (optional)
- Sprinkles and edible glitter (optional)
- 1 batch of the Best Vanilla Sugar Cookies (makes around 48, but depends on what cutters you use)
- The necessary ingredients to make the Wilton Royal Icing
- A very small round piping tip and Coupler
Instructions
Make the cookies, cut them out, and bake them. Make sure they are cool before you start with the next step! Next, make the ‘Medium Consistency’ Royal icing (make more if you need it) and color as desired. Then prepare your piping bag with the coupler and tip, and fill the bag with your frosting. And now you will pipe the border around your cookies, preferably doing just one color at a time.
Now make your ‘Thin Consistency’ Royal Icing’ (make more if you need it) and color as desired. This time do not use any piping tip or coupler, just fill the bag and cut a very small end of the bag. Then flood your cookies with the frosting. Tip: If you wait too long to flood the cookies, like I did, your border frosting will dry and the flooding icing will not combine with it so you will be able to see the difference. But that’s okay if it does end up happening, everybody makes mistakes!
Then add desired sprinkles, dots of other colors, or other decorations.
If making my Snowflake cookies with the swirl pattern follow these Step-By-Step pictures below!
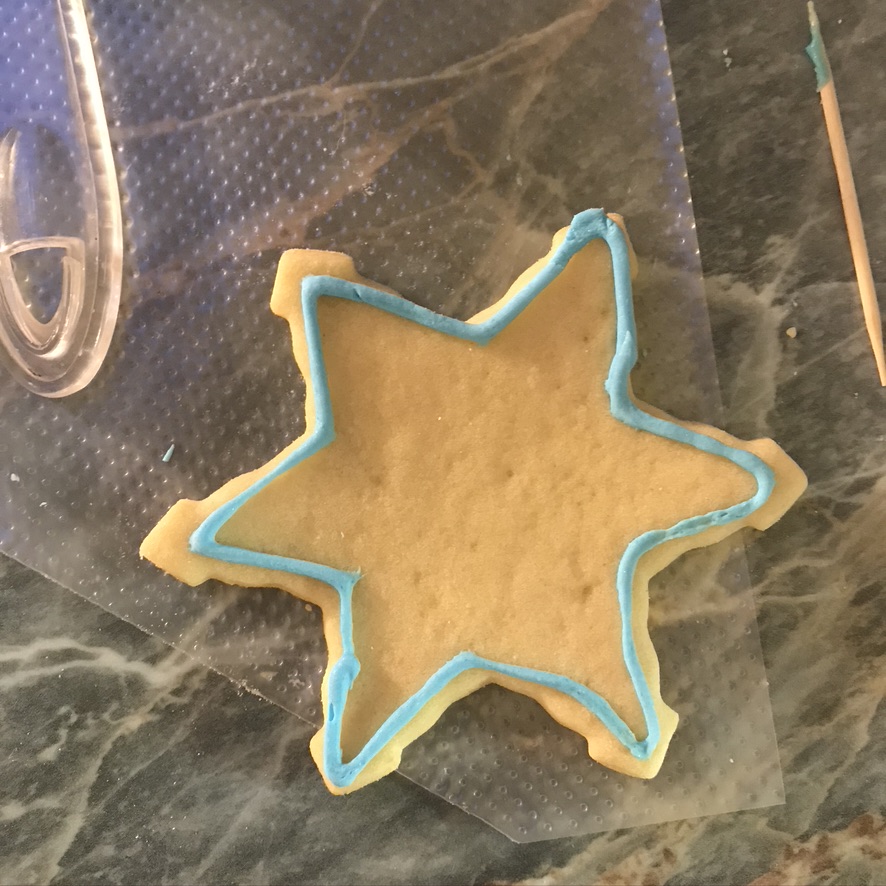
- Border your cookies,
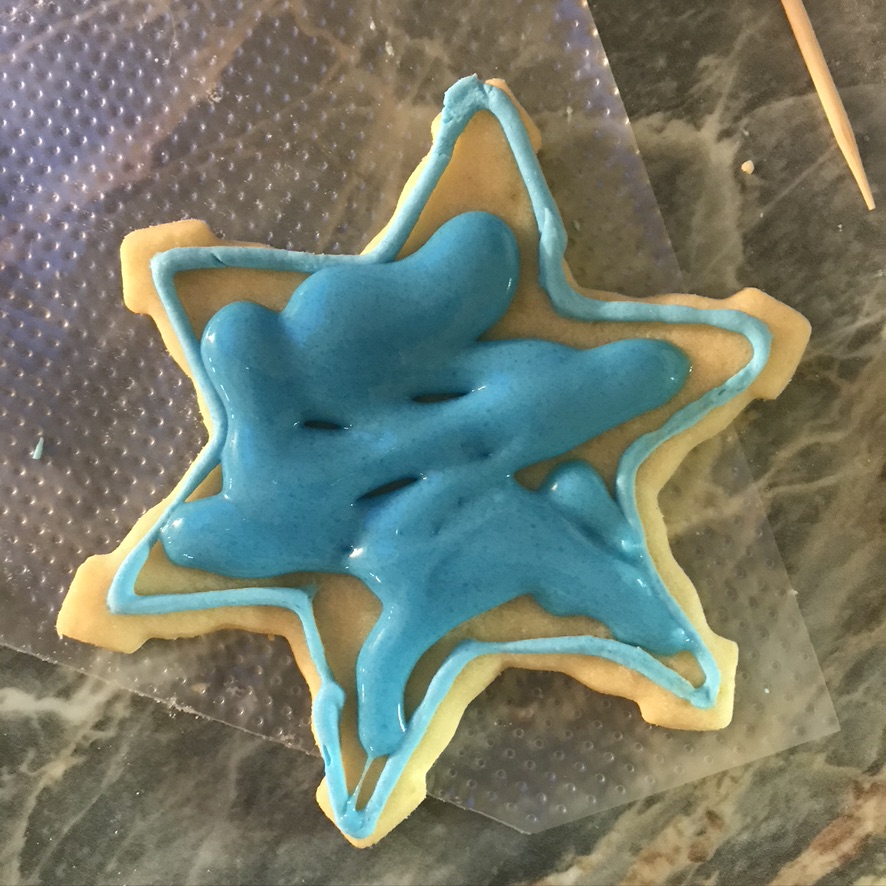
2. Then flood them,
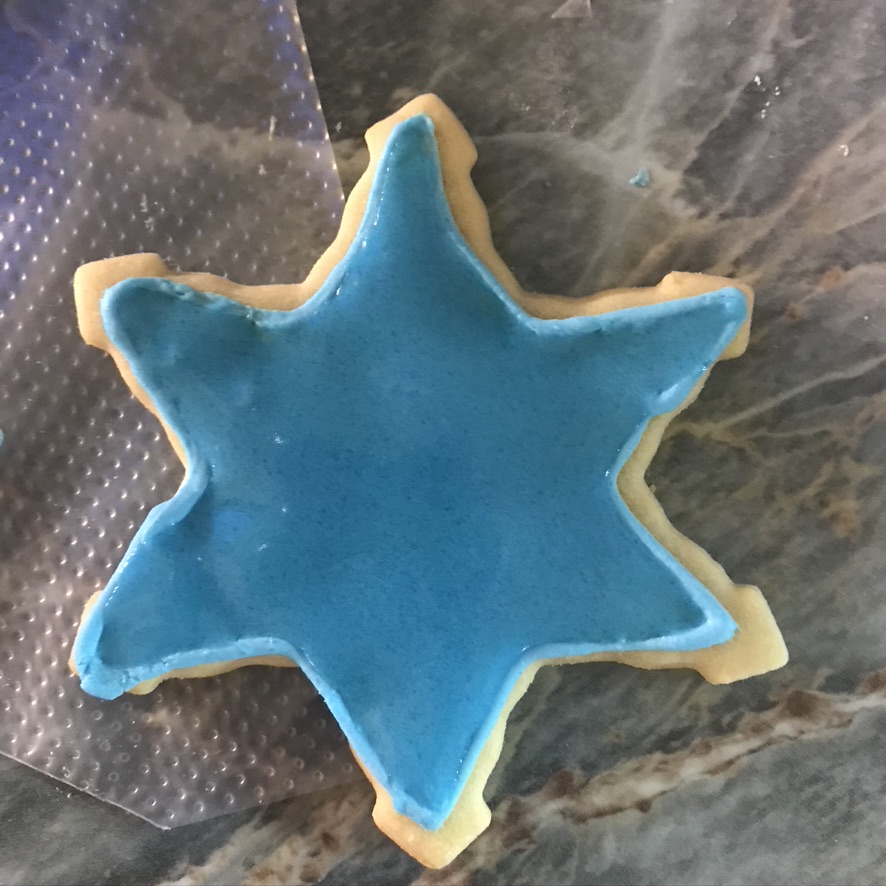
3. And, using a toothpick, combine all the frosting to where it didn’t reach, kind of like painting your cookies!
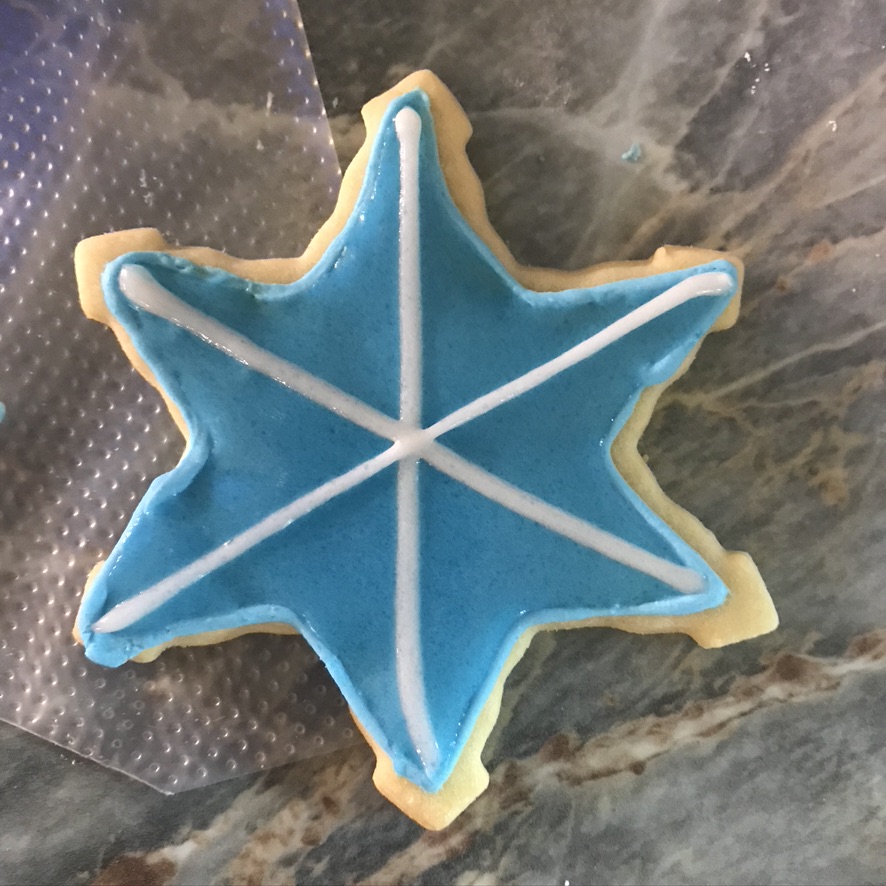
4. Now, using the white ‘Thin Consistency’ frosting, pipe stripes along each tip to the middle,
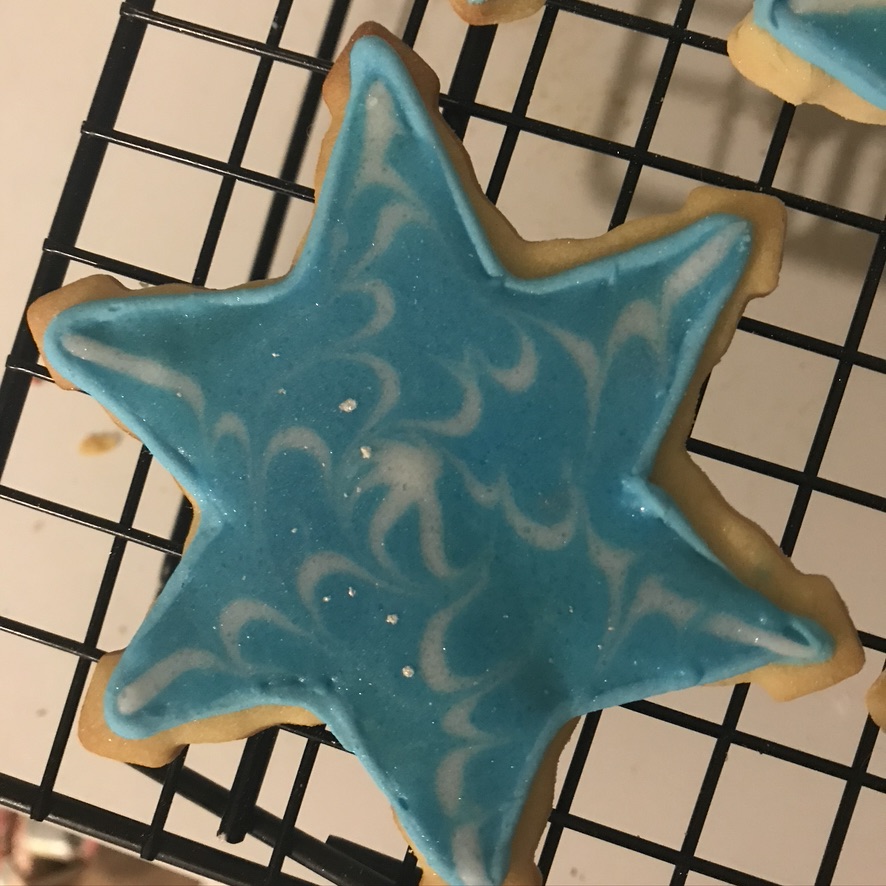
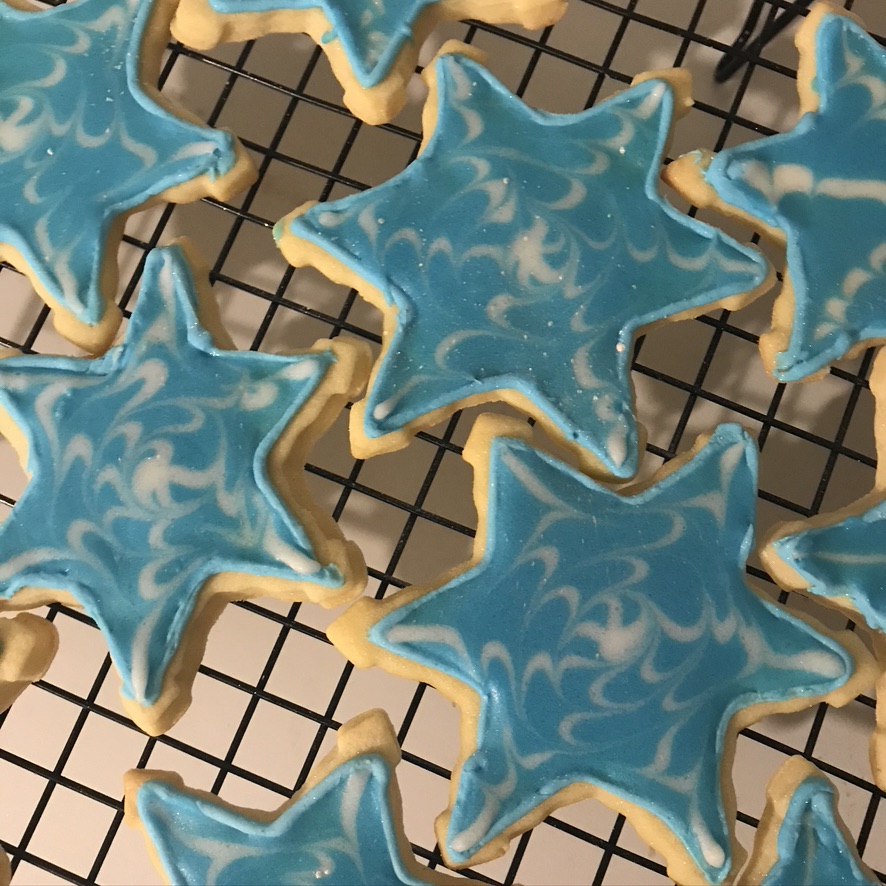
5. Then, using a new toothpick, lightly swirl the frosting in a circle, careful not to scrape the cookie.
And, if you want to, dust with glitter! Great job!
